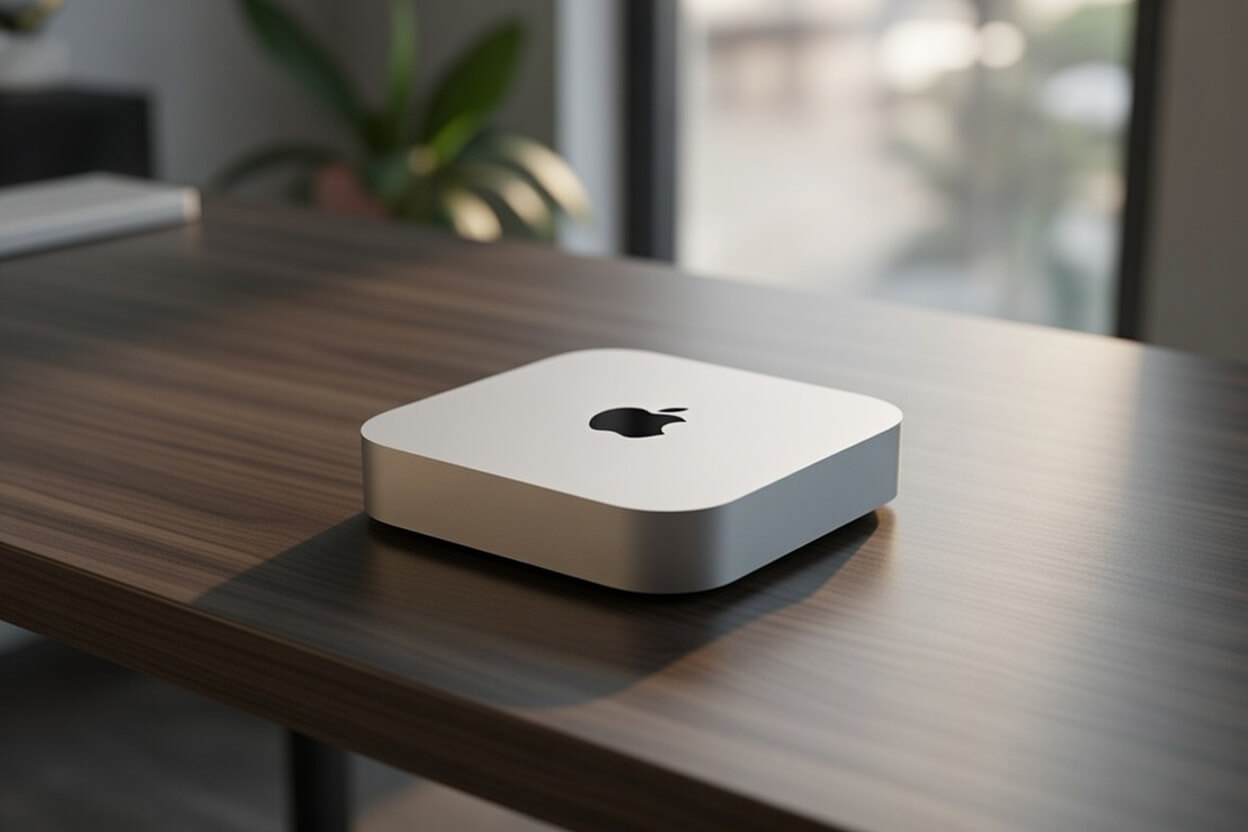
Apple’s Mac mini is a small, quiet, and surprisingly powerful machine that makes an excellent home server. It sips power, looks great, takes up almost no space, and can comfortably handle media streaming, smart home automation, backups, local AI workloads, and more. This guide walks through the full setup process—from choosing the right Mac mini to running containers with Orbstack, securing remote access, and deciding whether to run it headless.
Step 1: Choosing the Right Mac Mini for a Home Server
For most home server use cases, any Apple Silicon Mac mini is a solid choice. M1, M2, and of course the newest M4 models all work well—it mostly comes down to budget and how demanding your workloads will be.
M1 Mac minis are still a great value, especially if you’re buying used. They run on Apple Silicon, are widely available on eBay, and often come with more internal storage for the same price as a newer base model. If you want maximum performance, or want to “future-proof,” then the M4 models makes sense — we’ve broken down the differences in more detail in our M1 vs M4 Mac Mini for a Home Server post.
Regardless of the generation, memory matters. I recommend 16GB of RAM as a minimum. If you plan to run a lot of containers, heavier services, or AI workloads, stepping up to 32GB will give you much more breathing room. Storage is similar—you can run macOS and your core apps on the internal SSD, but you’ll want at least 512GB. Media libraries and backups add up quickly, and while you can always attach an external Thunderbolt SSD, having decent internal storage makes life easier.
On the networking side, the standard gigabit Ethernet port is perfectly fine for most setups, including media streaming and home automation. If you’re moving large files around your network or keeping big media libraries, 10-gigabit Ethernet is worth considering. If you’re buying new, Apple offers it as a built-in option at $100 – I would definitely recommend springing for this to eliminate that bottleneck on your device if you have the budget. If not, or if you’re buying used, you can always add 10GbE later with a Thunderbolt USB-C adapter, though of course that will take up one of the previous few USB-C ports on the machine (and costs more at $150 – $200).
Every Mac mini includes Wi-Fi, but for a server I strongly recommend using Ethernet as your primary connection. It’s faster, more stable, and more reliable for something that’s meant to run 24/7. Wi-Fi is still useful as a backup or temporary connection, but wired networking should be the default.
Step 2: Recommended MacOS Settings
I would recommend setting up the Mac mini with your Apple ID and enabling FileVault so the internal disk is encrypted for security. Once you’re logged in, there are a few macOS settings you can tweak to optimize for server use:
- Turn off Wi-Fi (assuming you’re connected via ethernet) and Bluetooth to reduce power draw and avoid interference with your wired network path.
- Under System Settings > Energy, enable the below to keep the Mac mini reachable on the network and allow it to recover cleanly after outages:
- “Prevent automatic sleeping when the display is off”
- “Wake for network access”
- “Start up automatically after power failure”
- Turn off Apple Intelligence & Siri under System Settings > Apple Intelligence & Siri
- Turn off Game Center under System Settings > Game Center
- Make sure File Sharing and Screen Sharing are enabled:
- System Settings > General > Sharing > Share files and folders using SMB: On
- System Settings > General > Sharing > Screen Sharing: On
Step 3: Installing Orbstack and Running Containers
Once macOS is set up, the next step is running your services. Orbstack is our recommendation here. It’s lightweight, fast on Apple Silicon, and makes running Linux containers feel effortless compared to heavier virtualization tools.
After installing Orbstack from the official site, you can start creating containers right away—Docker support is built in. Most people start with a few core services. Media servers like Jellyfin or Plex are common first installs, followed by AdGuard Home for network-wide ad blocking and Home Assistant for local smart home automation. We have a full post on how to set up Orbstack for your Mac.
Docker Desktop technically works on macOS, but on a Mac mini with Apple Silicon, Orbstack usually provides a better experience. You can read our full comparison of Docker vs Orbstack for Mac Home Server for more details.
Step 4: Setting Up Secure Remote Access
Once your services are running, you’ll want a safe way to access your Mac mini remotely when you’re out of home. There’s several options here, but I find Tailscale is the easiest and most secure option for most people. Install it on the Mac mini and on your other client devices, and you’ll be able to access your server from anywhere without opening ports, dealing with static IPs, or exposing services to the public internet.
Port forwarding is technically an option, but I don’t recommend it unless you really know what you’re doing and have a specific reason to expose a service publicly. For the vast majority of home servers, Tailscale covers everything you need.
Step 5: Running Your Mac Mini Headless (or Not)
How you physically operate your Mac mini depends on where it lives and how hands-on you want to be. There’s no single “right” answer here—just tradeoffs.
Non-Headless (Monitor or TV Connected)
The simplest approach is to connect a monitor or TV, along with a keyboard and mouse, and use the Mac mini like a normal computer. This is the easiest option when you’re getting started, especially during initial setup and troubleshooting. There’s no need for remote access software, and updates or maintenance are straightforward.
The downside is that you need physical access to the machine whenever something goes wrong. If the Mac is tucked away in a closet or rack, that can get annoying fast.
Headless with Automatic Login
Another option is running the Mac mini headless with automatic login enabled. In this setup, macOS logs into your user account automatically at boot, allowing services that depend on a logged-in session to start without intervention.
This works well for always-on services, but it comes with a security tradeoff. Anyone with physical access to the machine can log in. Also, even if you have FileVault enabled, macOS will automatically unlock and decrypt the disk during boot with this setting, so you lose protection against someone stealing the Mac and booting it — though FileVault encryption will still protect the drive in the event it’s removed from the machine.
Headless with Password and Remote Access
A more secure headless setup keeps the login password enabled and relies on remote access tools like Apple’s built-in Screen Sharing, RealVNC, or RustDesk. This protects the system if someone physically accesses it and keeps full FileVault encryption, while still letting you manage everything remotely.
The catch is that if the Mac restarts—such as after a power outage or macOS update—you won’t be able access the machine remotely until the login password is entered locally, since all of the remote access apps don’t start running until after the user is logged in.
Headless with an IP-Based KVM
If you want full control without compromising security, an IP-based KVM is the best solution. There’s been a lot of new development in this area in recent years, with relatively affordable devices like JetKVM, Comet, or PiKVM giving you complete remote hardware access, including during boot. That means you can log in after restarts, apply macOS updates, and recover from power outages without ever physically touching the machine.
This setup gives you the best of both worlds: full Apple ID and login security, plus true remote access at every stage. For servers you don’t want to physically babysit but want full control over, this is the best solution.
Step 6: Ongoing Maintenance
Once everything is running, maintenance is fairly straightforward. Keep an eye on system performance using Activity Monitor or your container dashboards, make sure important data is backed up regularly, and stay on top of macOS and container updates. Eventually, something will probably break, but that’s part of the fun of home servers 🙂



Leave a Reply